As the smell of cookies baked filled my kitchen, I thought of my first red velvet dessert. It was at a cozy holiday with family and friends. A friend brought red velvet cake, and its red color caught my eye.
That color and rich cocoa taste made me love red velvet. I wanted to make a Red Velvet Cookie Recipe that was both red velvet and delicious. Here’s how to make these vibrant red cookies, great for any time or special occasion.

Key Takeaways
- Experience the delightful taste of a classic red velvet cake in cookie form.
- Learn about essential ingredients that elevate your cookies.
- Discover tips for achieving the perfect cookie texture.
- Get creative with variations on the traditional recipe.
- Find out how to store your cookies for maximum freshness.
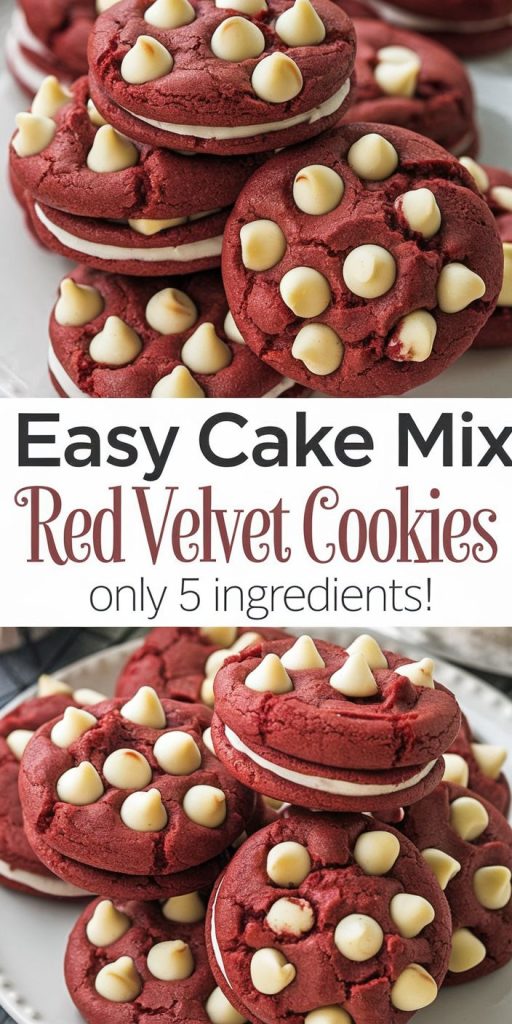
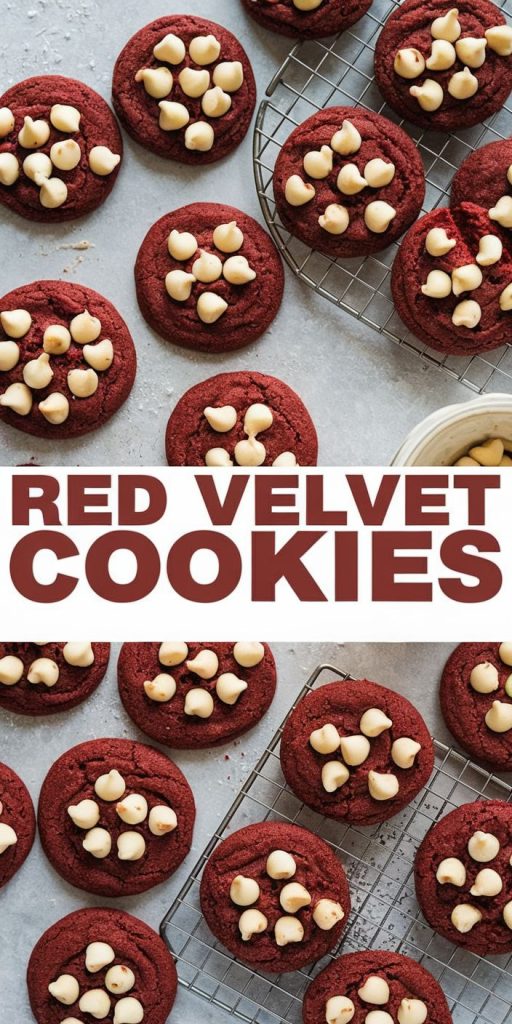
What Makes Red Velvet Cookies Unique
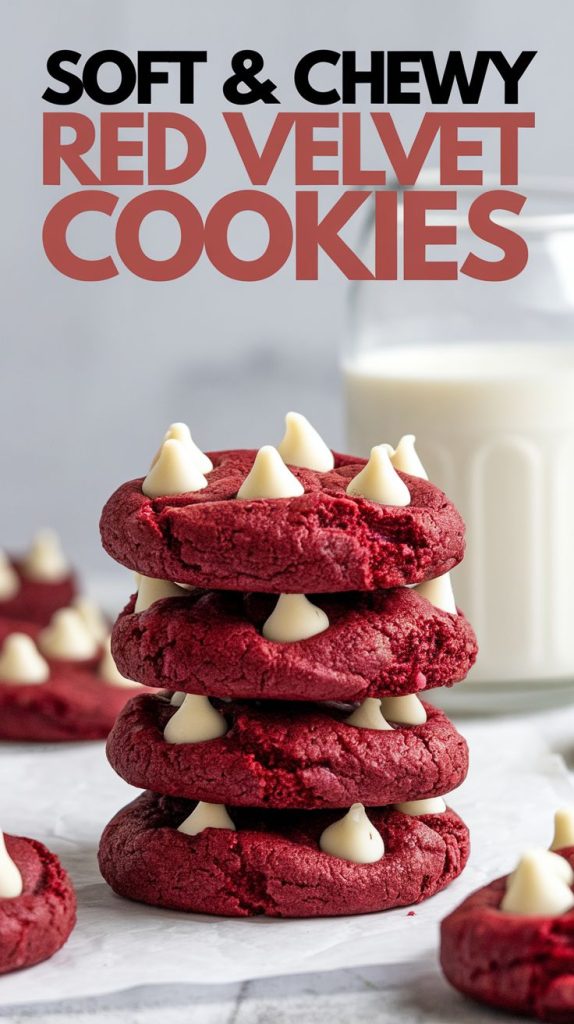
Red velvet cookies are special. They grab your attention with their sweet taste. The mix of chocolate and buttermilk makes them unique.
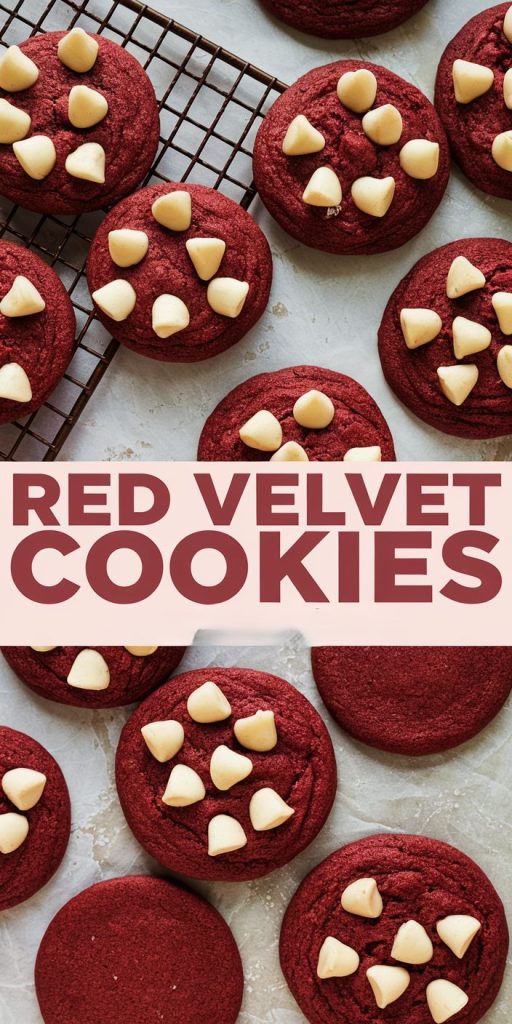
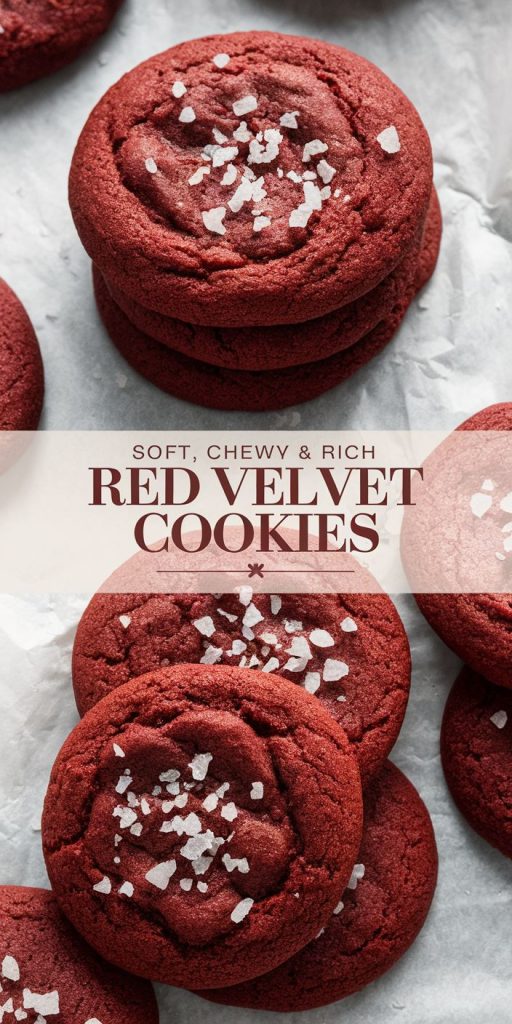
The cookies look bright red, adding fun to eating them. This color makes them stand out.

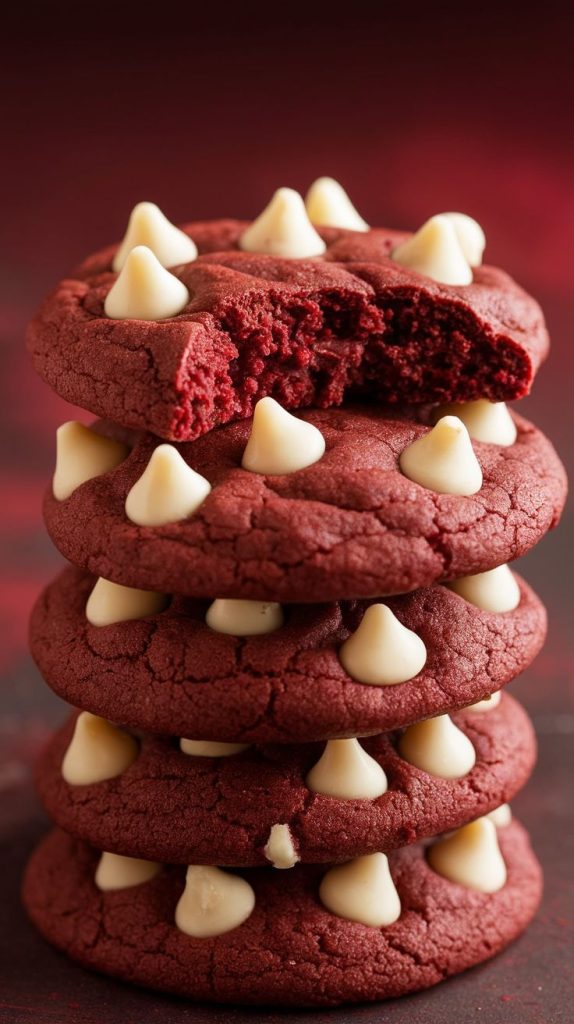
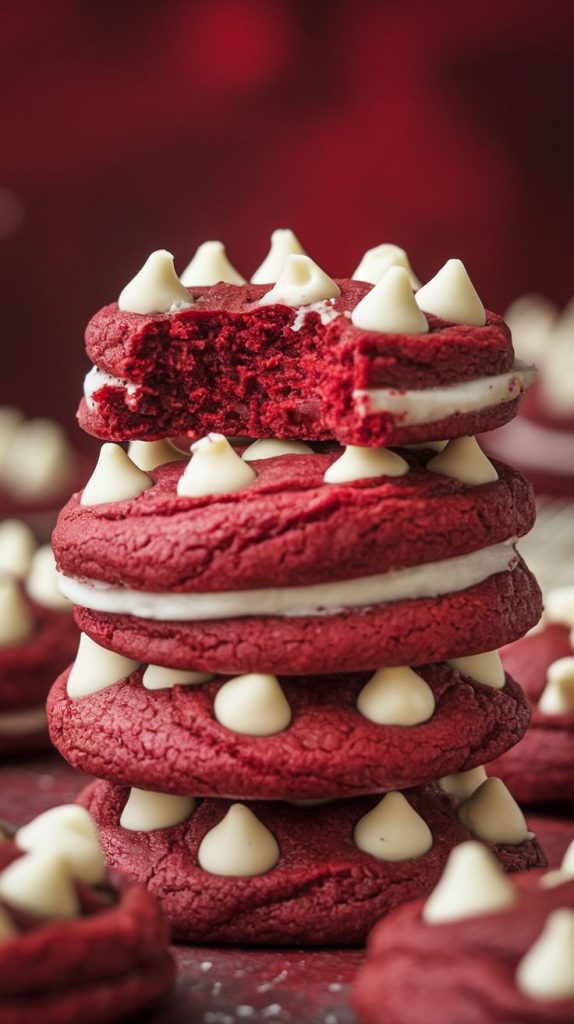
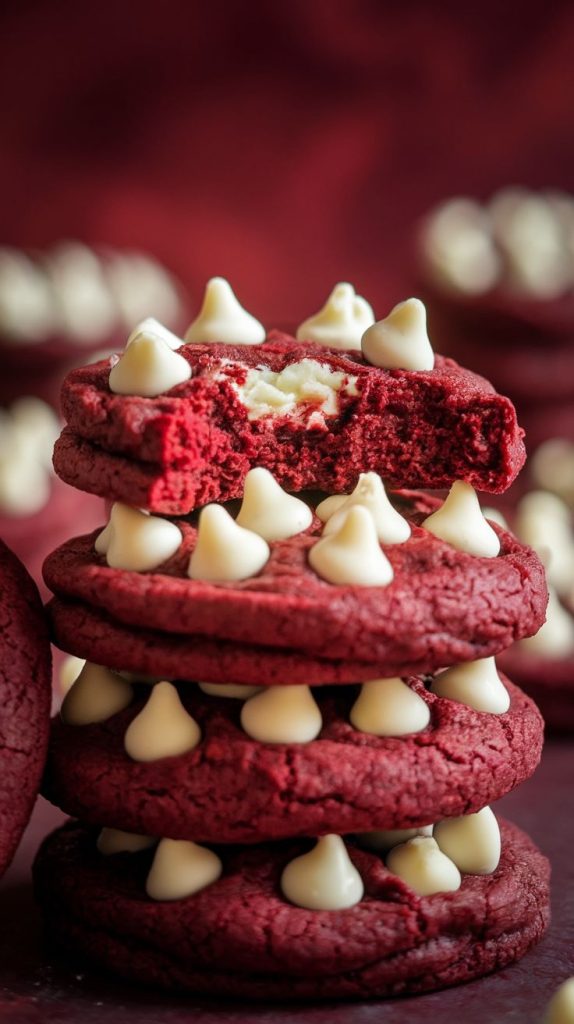
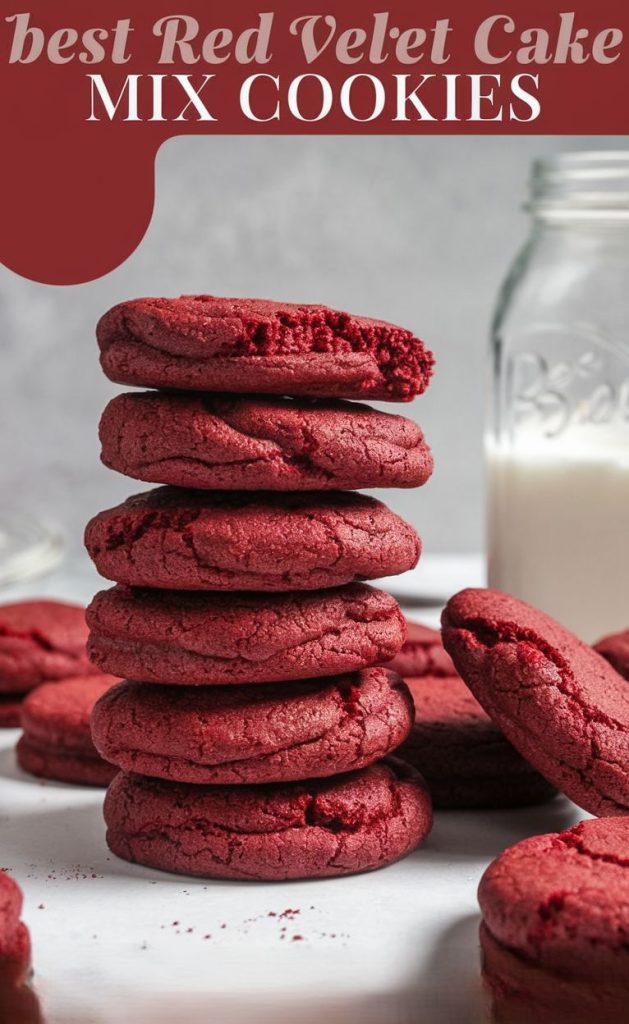
These cookies are soft and chewy. They feel different from other cookies. The red color makes them look and taste even better.
Red velvet cookies are more than just treats. They’re part of celebrations. They make any event feel special.


Essential Velvet Cookie Ingredients
To make perfect red velvet cookies, you need special ingredients. They give the cookies a great taste and color. Let’s explore what you need.
Key Ingredients for a Perfect Cookie
The best red food coloring cookies start with key ingredients. Here’s what you must have for a tasty batch:
- All-purpose flour: The backbone of your cookie dough.
- Unsweetened cocoa powder: Adds that rich chocolate flavor.
- Granulated sugar: Sweetens the mix perfectly.
- Butter: Ensures a soft, chewy texture.
- Eggs: Binds the ingredients together for the perfect consistency.
- Red food coloring: Creates the iconic red hue that defines these cookies.
Why Use Fresh Ingredients?
Fresh ingredients are crucial for baking. They make your cookies taste better and feel softer. Using fresh butter and eggs makes a big difference.
Every bite of your red food coloring cookies will show the quality of your ingredients. It makes baking more enjoyable.
Red Velvet Cookie Recipe
Starting to make red velvet cookies might seem hard. But, my guide makes it easy. It shows you how to do each step, from getting ready to baking.
Ingredients List for One Person
- All-purpose flour: 4 tbsp (¼ cup)
- Unsweetened cocoa powder: 1 tsp
- Baking soda: A pinch
- Salt: A pinch
- Butter: 2 tbsp (softened)
- Granulated sugar: 2 tbsp
- Egg yolk: 1 (save the egg white for another recipe)
- Red food coloring: 1-2 drops (adjust for desired intensity)
- Vanilla extract: ¼ tsp
- Buttermilk: 1½ tsp
Optional toppings:
- Cream cheese frosting (use leftover frosting if you have any or make a small batch).
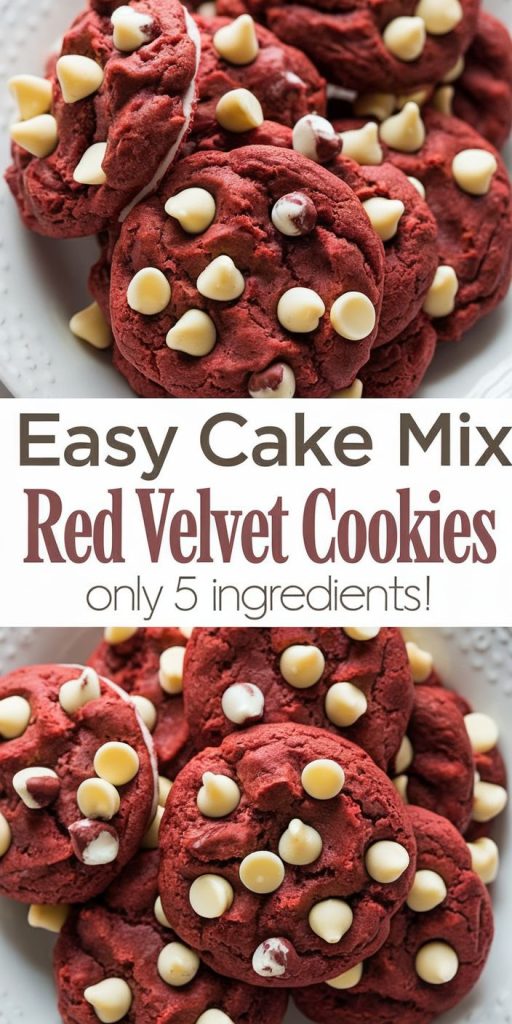
- White chocolate chips: 1 tbsp.
- Chopped nuts or sprinkles: As desired for decoration.
This small-batch ingredient list is perfect for satisfying a craving or testing the recipe before scaling up!
Step-by-Step Guide
After you have everything, follow these steps:
- Prep your oven: Heat your oven to 350°F (175°C). This helps the cookies bake right.
- Mix dry ingredients: In a bowl, mix flour, cocoa powder, baking soda, and salt.
- Cream butter and sugar: In another big bowl, mix butter and sugar until it’s fluffy.
- Add eggs and color: Add eggs, red food coloring, and vanilla extract. Mix well.
- Combine mixtures: Slowly add dry ingredients to wet ingredients, with buttermilk in between.
- Scoop the dough: Use a cookie scoop to make balls of dough on a baking sheet.
- Bake: Put the tray in the oven for 10-12 minutes. Let them cool before eating.
Every step is important for tasty cookies. Enjoy making them and feel free to be creative.
Red Velvet Cookie Recipe: Detailed Instructions
Making the best red velvet cookie starts with a great cocoa powder cookie dough. I focus on mixing to get a smooth texture. This dough is key for cookies that taste amazing.
Preparing the Cocoa Powder Cookie Dough
First, get all your ingredients ready. You’ll need flour, cocoa powder, butter, eggs, and sugar. Using top-notch cocoa powder makes a big difference.
I mix the dry ingredients first. Then, I add them to the wet stuff.
- Mix the cocoa powder and flour with a pinch of salt.
- In another bowl, cream together the butter and sugar until light and fluffy.
- Add the eggs one at a time, ensuring each is well combined.
- Gradually add the dry ingredients to the wet mixture, blending until just combined.
This careful mixing makes the dough velvety. Chilling the dough for 30 minutes helps. It keeps the cookies soft and chewy.
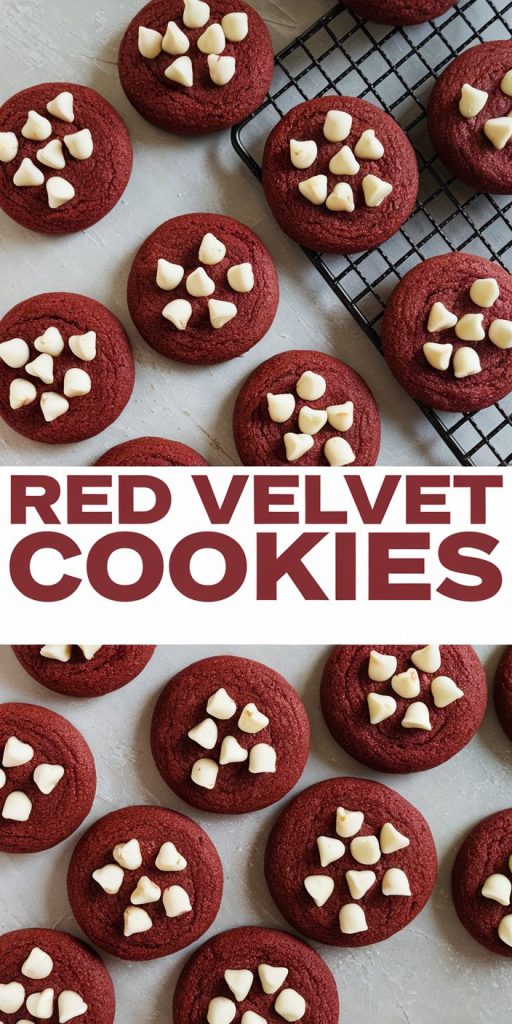
Perfecting the Cookie Baking Process
Preheat your oven to 350°F for baking. The right oven temperature is crucial for soft cookies. I use parchment paper to prevent sticking.
- Scoop the chilled dough onto the prepared baking sheet, spaced a few inches apart.
- Bake for about 10-12 minutes, keeping a close eye on them.
- Remove cookies when edges are set but centers are still slightly soft.
Let the cookies cool on the tray for a few minutes. Then, move them to a wire rack. These steps help me bake perfect red velvet cookies every time.
Understanding the Role of Red Food Coloring in Cookies
Red food coloring is key in making red velvet cookies. It makes the cookies look amazing and adds to their beauty. The color makes the cookies stand out and brighten up any dessert table.
The science behind red velvet cookies is cool. Mixing cocoa powder, vinegar, and baking soda creates a reaction. This reaction turns the cocoa red when mixed with food coloring. This is what makes the cookies look so special.
Red food coloring does more than just change color. It makes the cookies look better and more exciting. A cookie that looks great can make everyone happy. It shows the love and care that went into making it.

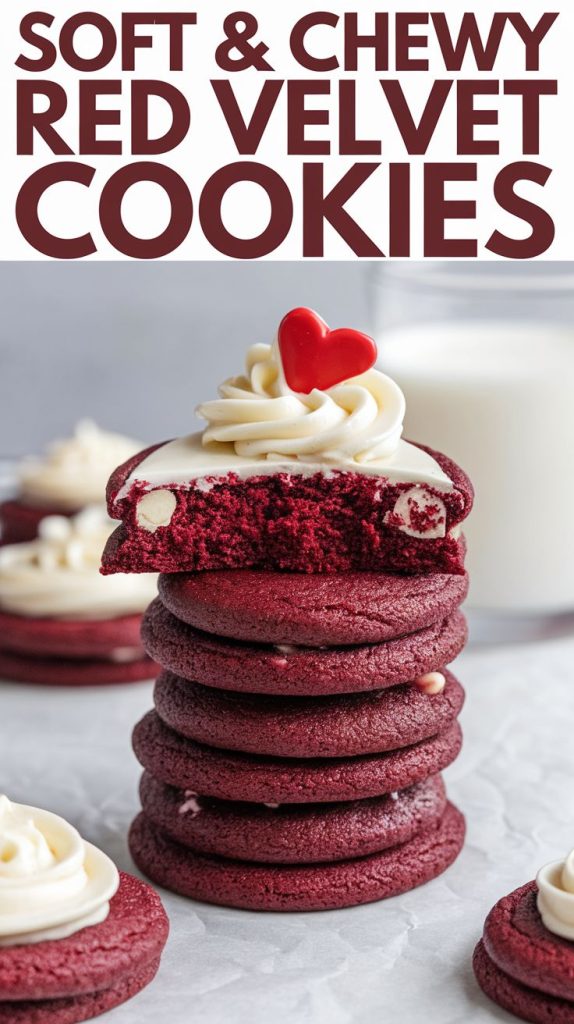
The Importance of Cream Cheese Frosting
Cream cheese frosting makes red velvet cookies even better. It adds a tangy taste that balances the cookie’s sweetness. This mix is so good, people always want more.
Making the frosting just right is key. It should be smooth and creamy. This makes the cookies even more special.
Crafting the Perfect Cream Cheese Frosting
To make a great cream cheese frosting, you need:
- 8 oz cream cheese, softened
- 4 tbsp unsalted butter, softened
- 2 cups powdered sugar
- 1 tsp vanilla extract
Mixing these ingredients creates a frosting that’s both rich and tasty. Start by creaming the softened cream cheese and butter. Then, add the powdered sugar slowly to avoid lumps.
Adding vanilla extract makes the frosting even better. It becomes smooth and easy to spread. This frosting makes the cookies truly special.
How to Frost Your Cookies for Maximum Flavor
Frosting your cookies right is important. Here are some tips to make them look and taste great:
- Use a spatula to spread the frosting evenly. Start in the middle and go outwards.
- For a pretty look, make swirls or peaks with the spatula.
- Chill the frosted cookies for a few minutes. This helps the frosting set and improves the texture.
Following these tips ensures every bite is full of flavor. The cream cheese frosting is a must-have for red velvet cookies.
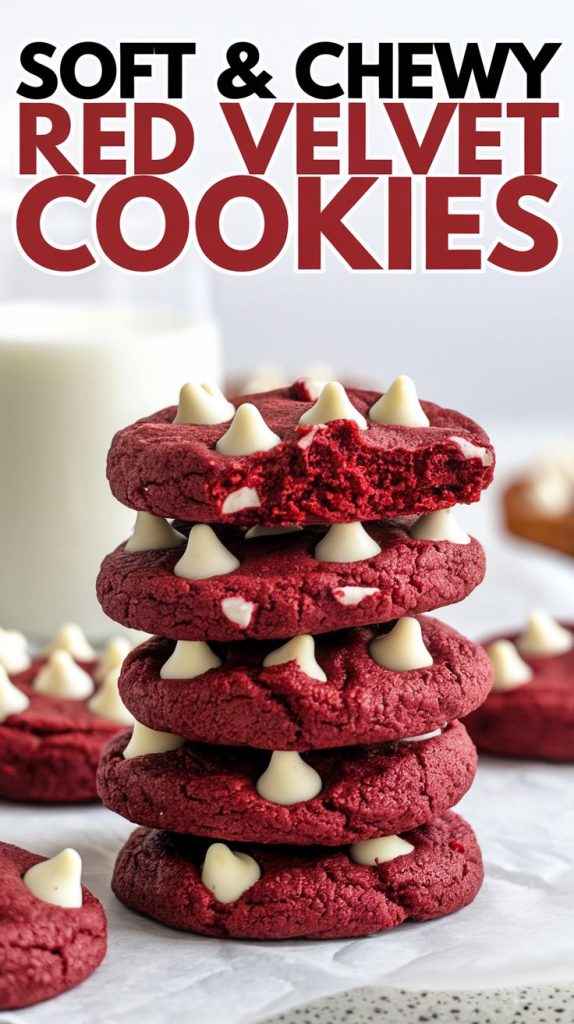
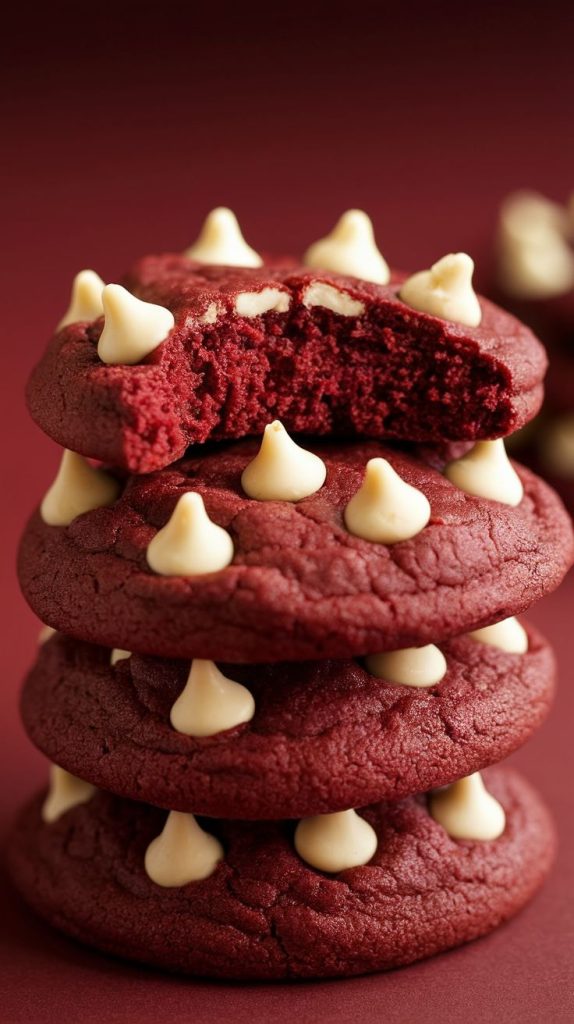
Tips for Soft-Baked Red Velvet Cookies
Making perfect soft-baked red velvet cookies is more than just mixing ingredients. You need to pay close attention to texture. Here are some key tips to help you get it right.
How to Achieve the Right Texture
The secret to soft cookies is in the dough’s moisture. Bake them a bit less than you think. Watch them closely in the last few minutes.
The edges should be set, but the center soft and gooey. This way, they’ll stay chewy as they cool.
Optimal Baking Times and Temperatures
Knowing the right baking times and temperatures is crucial. Preheat your oven to 350°F (175°C). Soft-baked cookies usually take 10-12 minutes to bake.
Check them often to avoid overbaking. If the edges start to brown, it’s time to take them out. Adjust the time based on your oven for the best results.

Clever Variations on My Red Velvet Cookie Recipe
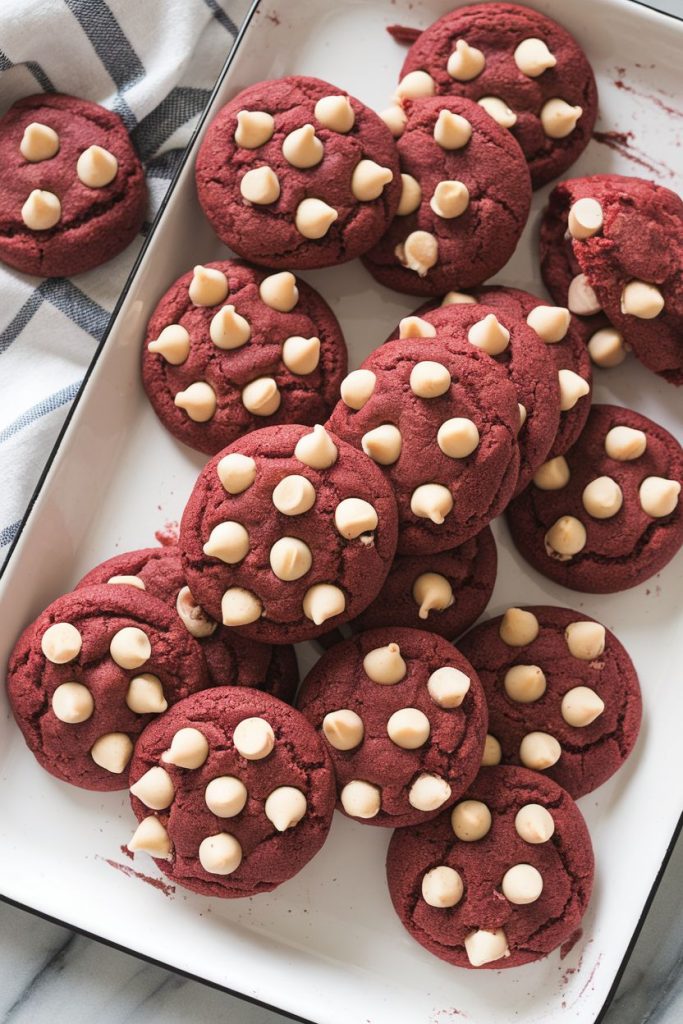
Exploring red velvet cookie variations lets me add new twists to a classic. Adding white chocolate chunks makes them sweeter and richer. It’s a fun way to make a dessert that brings joy.
Adding nuts like pecans or walnuts gives them a nice crunch and flavor. You can also make them look fun with sprinkles. This makes them perfect for parties.
For those who can’t eat gluten, there are great options. I use almond or coconut flour instead of regular flour. This keeps the flavor the same but makes them safe for everyone to eat.
| Variation | Description | Suggestions |
|---|---|---|
| White Chocolate Chips | Add white chocolate chips for a sweeter taste. | Mix equal parts of chocolate and cookie dough. |
| Nuts | Incorporate chopped pecans or walnuts for crunch. | Use 1/2 cup of nuts mixed into the dough. |
| Sprinkles | Top the dough with colorful sprinkles before baking. | Use fun shapes to match themed events. |
| Gluten-Free | Substitute all-purpose flour with gluten-free options. | Almond or coconut flour work well. |
| Chocolate Swirl | Marble in some chocolate or cream cheese for a dual flavor. | Use a knife to swirl in melted chocolate. |
These changes make red velvet cookies exciting and fun for everyone. They’re great for any celebration or just because. There’s always a new way to enjoy these classic treats.
Holiday Cookie Baking: Red Velvet Edition
Holiday cookie baking is so joyful, even more with red velvet treats. I love making my red velvet cookies festive. Adding holiday touches makes them special.
Adding festive baking ideas makes them taste and look great. I top them with cream cheese frosting and red and green sugar. Using holiday shapes with cookie cutters is fun.
Mixing in seasonal ingredients makes them even better. Chopped nuts add crunch, and white chocolate chips are sweet. Peppermint extract brings a cool twist.
Presenting them on fancy platters or in festive tins is fun. Wrapping them in clear cellophane with a red ribbon is a nice touch. It’s a gift and a decoration.
Red velvet treats are a hit at any party. With a bit of creativity, baking becomes a special moment. Let these cookies be the highlight of your holiday!
| Seasonal Add-Ins | Flavor Profile | Decoration Ideas |
|---|---|---|
| Chopped Pecans | Nutty and rich | Dust with powdered sugar |
| White Chocolate Chips | Sweet and creamy | Drizzle with melted chocolate |
| Peppermint Extract | Cool and minty | Top with crushed candy canes |
| Red and Green Sprinkles | Sweet and festive | Sprinkle on frosted cookies |
Storing and Enjoying Your Red Velvet Cookies
Keeping your red velvet cookies fresh is key. Store them in an airtight container at room temperature. This keeps them soft and tasty for days.
If you bake a lot, freezing is a great option. Lay cookies on a baking sheet, then freeze them. Put them in a freezer-safe bag, squeezing out air.
Serving cookies with cream cheese frosting is a great idea. Enjoy them with milk or coffee. Heating them in the microwave makes them even better.
Sharing these cookies with loved ones makes any moment special. It turns simple gatherings into fun events.
Enjoying red velvet cookies is all about how you store and serve them. Use these tips to make every bite special!